

How to Optimize Website Images: Speed Up Your Site Without Losing Quality
Most people spend ages choosing the perfect images for their website, then upload them straight from their camera, Canva, or photographer without optimizing them first.
I get it. You’re excited to get your site live. But the problem is those beautiful images are often one of the biggest reasons websites load slowly.
Slow websites not only frustrate visitors, they actually hurt your SEO and can impact conversions.
The good news is image optimization is one of the easiest wins when it comes to website performance.
In this post, I’ll walk you through exactly how to prepare images before uploading them to your site. So you can get quick loading images that don’t look like they were taken on a potato! 🥔
So if you’re wondering why your background images are blurry or pixelated, keep reading.
Why image optimization matters
Optimized images help:
- Improve page speed
- Create a better user experience
- Support SEO efforts
- Reduce bounce rates
- Make galleries load faster
- Improve mobile performance
The goal isn’t to make your images tiny and blurry.
It’s finding the balance between image quality and file size.
Because yes, a picture is worth a thousands words.. but if it takes three minutes to load it might aswell say nothing at all!
Step 1: Resize your images
Original images coming straight from your camera or photographer are too big for your website.
If an image is 3000px wide but only displays at 1200px on your website, that’s a lot of unnecessary data that takes time to load.
For Showit and other websites, the recommendation is to resize images to no more than 3500px on the longest edge. This helps speed up uploads while maintaining quality.
As a general rule:
- Full-width website images: up to 3500px on the longest edge
- Gallery images: often much smaller up to 1200px
- Blog images: size closer to how they’ll actually appear on the page
Bigger isn’t always better.
Ideally, you want your image dimensions to be as close as possible to how they’ll actually appear on your website. For example, if an image is only displayed at 400px x 600px, there’s no need to upload a version that’s 3000px wide. It just creates extra work for your visitors’ devices without adding any visible quality.
Step 2: Compress your images
Once your image is resized, it’s time to reduce the file size.
This is where compression comes in. But try not to get hung up on the percentage reduction. Focus on the final file size instead.
The goal is to get the image as small as possible without any noticeable drop in quality.
Tools I use
TinyPNG
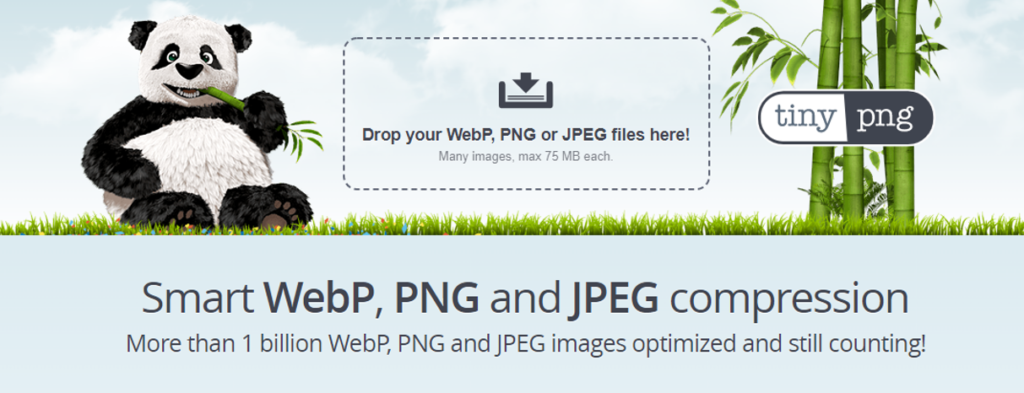
TinyPNG is usually my first stop. Simply upload your images and it’ll reduce the file size while keeping the quality looking great.
Other options include:
- TinyJPG
- ImageOptim
- Squoosh
For most people, TinyPNG is more than enough. There’s a free version that let’s you upload 20 images at a time, or you can pay a small yearly fee to get unlimited uploads.
Ffor larger projects I also use ImageOptim and Squoosh depending on the file type and how much compression I need.
Target file sizes
As a general guide:
- Aim for under 300KB where possible
- Try not to exceed 500KB per image unless absolutely necessary
Even though you can upload 8MB images, please don’t. Nobody needs that level of detail and it will slow your site down like crazy.
Step 3: Rename your images before uploading
This is a step that is often missed that become a PITA after uploading.
Instead of uploading files named: IMG_8472.jpg
Change them to be more relevant to what the image actually is.
For example:
bridal-photoshoot-central-park.jpg
or luxury-wedding-invitations.jpg
This helps:
- keep your media library organised
- provide additional context to search engines
- make it easier to find images later
For larger galleries, use bulk renaming tools rather than renaming hundreds of images individually.
Your future self will thank you. And your image titles will be nicely populated for you too.
Step 4: Add alt text
Alt text serves two purposes:
- accessibility
- helping search engines understand your images
Good alt text describes what’s actually in the image.
For example:
Bad: Image of woman
Better: Website designer working on a Showit website from a home office
Keep it descriptive and natural.
Don’t try to cram every keyword imaginable into it.
Step 5: Choose the right file type
Using the correct file type can make a surprising difference.
JPG
If you’re ever unsure, JPG is usually the safest choice.
Best for:
- photographs
- brand photos
- background images
- most website images
This should be your default choice most of the time. If you’re ever unsure, JPG is usually the safest choice.
PNG
Best for:
- transparent backgrounds
- logos
- graphics that need transparency
PNG files are typically much larger, so only use them when necessary.
GIF
Best for:
- simple animations
Use sparingly because GIFs can become very large very quickly.
For Showit specifically, JPG, PNG, and GIF are the supported image formats.
Optimizing large galleries
Photographers, wedding professionals, interior designers… I’m looking at you.
Large galleries can absolutely tank website performance if they’re not optimized properly.
A few best practices:
- Resize before uploading
- Compress every image
- Keep file sizes consistent
- Consider whether you really need 100 images on one page
- Prioritise your strongest images first
Nobody is judging you for showing 30 incredible photos instead of 150.
Common image mistakes I see all the time
Uploading straight from the camera
Your website doesn’t need the same file size as a printed billboard.
Using PNG for everything
PNG has its place. Most website images should be JPGs.
Forgetting alt text
Bad for accessibility and a missed SEO opportunity.
Uploading 5MB+ images
Your visitors shouldn’t need a coffee break while waiting for your homepage to load.
Not resizing before uploading
Compression helps, but resizing first makes the biggest difference.
Final thoughts
Image optimization isn’t the most exciting part of building a website, but it’s one of the simplest ways to improve performance.
My process is always:
- Resize
- Compress
- Rename
- Upload
- Add alt text
It takes a few extra minutes, but the impact on your website speed, user experience, and SEO is well worth it.
And if you’re working on a Showit site, getting into these habits now will save you a lot of headaches later.
blog
search
Search blog topics and resources
")
